After creating a schedule in DSHub, you can add playlists, images, or templates to specific time slots using the Calendar View. This allows precise control of what content plays and when.
Step 1: Open the Schedule in Calendar View
-
Once you create or open a schedule, you will be in its Calendar View.
-
You can switch between Day or Week view for easier slot selection.
Step 2: Select a Time Slot
-
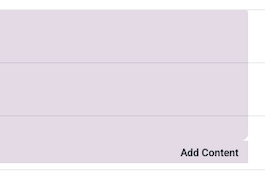
Click on an empty block in the calendar OR
-
Drag across the timeline to select a time range.
A block will appear with the label "Add Content".
Step 3: Click "Add Content"
-
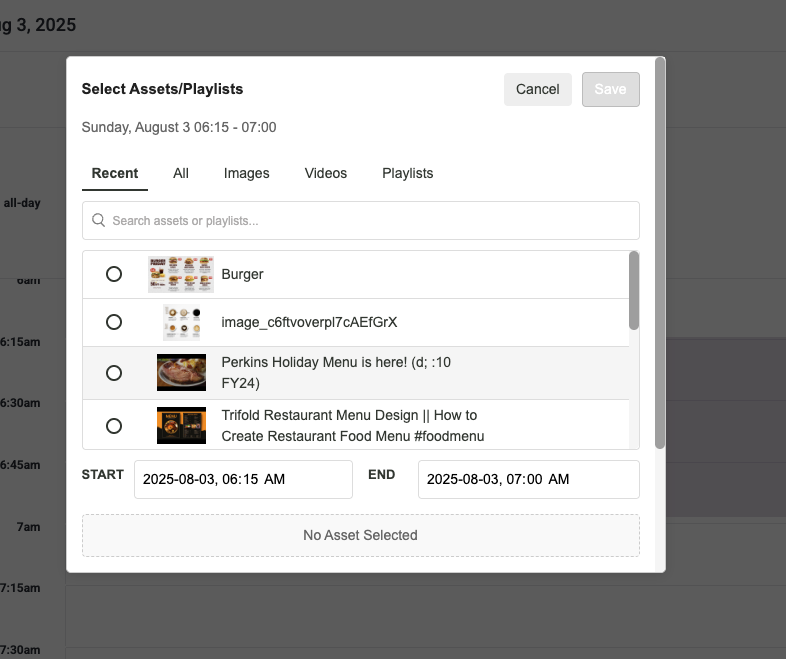
Click on the block to open the Add Content popup.
-
The popup lists all your Assets and Playlists with tabs for:
-
Recent
-
All
-
Images
-
Videos
-
Playlists
Step 4: Select Content
-
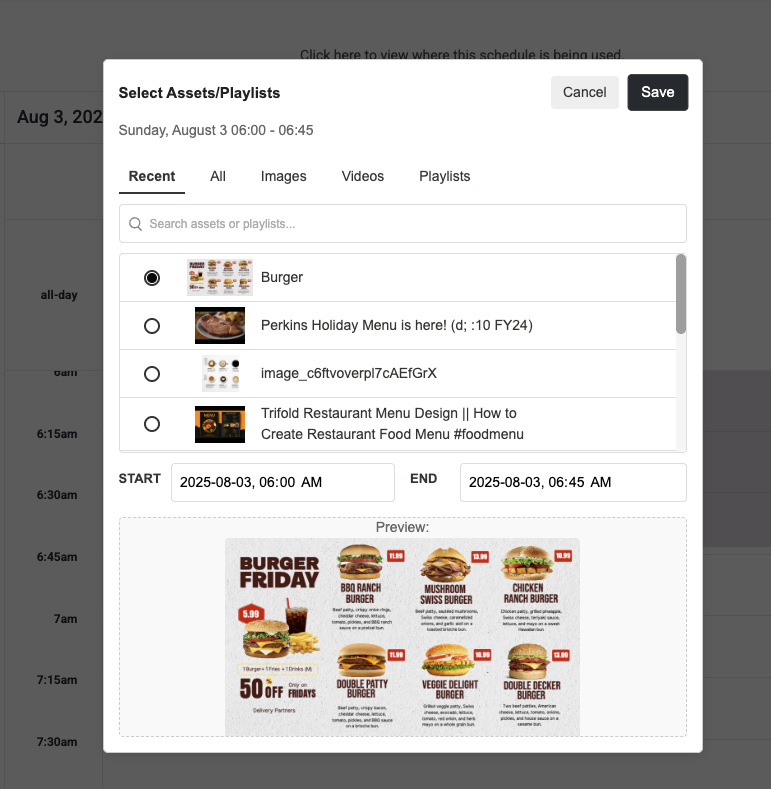
Choose the asset or playlist you want to display for the selected time.
-
A preview will appear at the bottom of the popup for confirmation.
-
Step 5: Save Your Selection
-
Once selected, click Save.
-
The content will be added to the calendar block and scheduled.
-
A confirmation message will appear: "Schedule event saved successfully."
Step 6: Add More Slots
-
Repeat the process by clicking or dragging additional time slots.
-
You can add multiple content blocks for different times in the same day or week.
Key Points
-
Drag & Drop: You can drag blocks to adjust timing quickly.
-
Flexible View: Switch between Day or Week view to manage slots efficiently.
-
Content Source: The popup lists all available assets from your Content Module and Playlists.